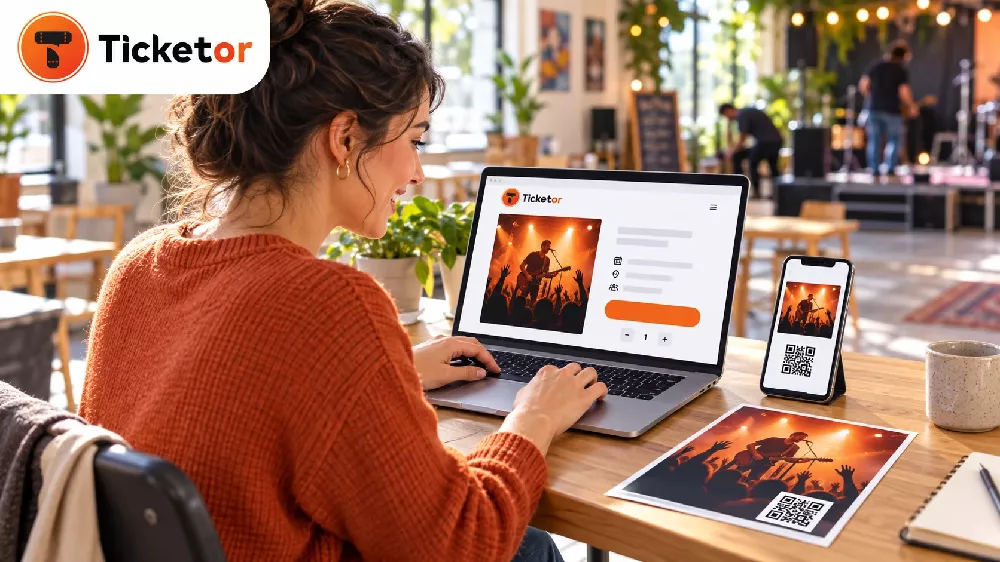
How to Sell Tickets Online: A Beginner’s Guide to Your First Event
You have an event date, a venue, and perhaps a flyer ready to share. Now you need a way for people to buy tickets—without spending days building a website or keeping track of payments in a spreadsheet.
With Ticketor, you can create an event page, add your prices, and share a link where people can buy tickets. Buyers receive digital tickets, and you can scan them at the entrance with your own phone. A straightforward event can go live in minutes when your event details and payment setup are ready; a custom seating chart or new payment-account verification may take longer.
Start by creating your Ticketor account. You do not need an existing website or coding experience. Here is how to get your first event on sale.
1. Gather a few details before you start
You do not need a complete marketing campaign to launch online ticket sales. Have these basics handy:
- Your event name, date, start time, and venue address.
- A short description of what guests can expect.
- Your flyer or an event image.
- Your ticket price and the number of tickets you can sell.
- Your refund or exchange policy and any important entry instructions.
- The payment account you want to connect for collecting online payments.
For a small workshop, community fundraiser, or standing-room concert, one admission price and a capacity limit may be all you need. You can use Ticketor’s more detailed seating and pricing options when your event calls for them.
2. Create your event page and upload your flyer
After signing up, create an event and enter its details. Upload your flyer or another clear event image so visitors immediately recognize what they are buying tickets for.
Write a short description that answers a buyer’s first questions: What is happening? Where is it? When should I arrive? What does my ticket include? Include key information as text, even when it already appears on the flyer. That makes it easier to read on a phone and accessible to people using screen readers.
Choose general admission if guests do not need to select specific seats. For an event with assigned seats or tables, choose reserved seating and connect a seating chart. You will find more on that below.
Ticketor gives you a hosted ticketing site and an event page to share. You do not have to build a separate website before inviting people to buy. The event creation guide walks through the setup fields if you want help along the way.
Watch: set up your event and start selling tickets
Prefer to see the process first? This Ticketor Quick Start video introduces how to set up your event online and start selling tickets. Watch it before you begin, or keep it handy while you create your first event.
Watch the Ticketor Quick Start on YouTube.
3. Add your prices: simple admission, groups, or early-bird tickets
Start with the price and quantity you want to sell. If every ticket costs the same, keep it that simple. If your event needs several choices, Ticketor supports price levels and variations without sending buyers to separate sales systems.
Multiple ticket prices
Offer choices such as general admission, VIP, adult, student, or child tickets. Separate price levels can represent different areas or allocations, while price variations can share the same inventory.
For example, if a room holds 100 guests, adult and child prices can draw from the same 100-ticket capacity. You do not want to accidentally offer 100 adult places plus another 100 child places for that room.
Group, family, and couple pricing
Want a lower price for a family or a group? Configure a minimum purchase quantity or sell in set quantities, such as pairs or groups of four.
Suppose regular admission is $25 and a family of four pays $80. A family variation can charge $20 per ticket with a four-ticket purchase requirement. The order produces four individual tickets and uses four places from your capacity—not one ambiguous “family ticket” that staff must interpret at the door.
Date-based and early-bird pricing
You can set sale windows for prices, such as an early-bird rate available until a chosen deadline and a regular rate available afterward. Set those dates in advance instead of relying on someone to change the price at midnight.
Running more than one performance or event date? Each event can have its own ticket setup and prices. A Friday performance does not have to cost the same as a Saturday performance.
Need a seating chart? Let buyers choose their seats
Reserved seating does not require you to manage seat requests by email. With Ticketor’s seating chart designer, you can build a layout with sections, rows, seats, and tables, then let buyers choose from the available seats online.
Arrange the layout to reflect your venue, identify accessible seating, and apply the appropriate prices. A theater might use rows and a balcony; a gala might use round tables. Finish and check the chart before adding your ticket inventory, because some layout changes become restricted afterward.
If your first event does not need assigned seats, skip this step. General admission lets you get on sale without creating a chart.
4. Go live, get your ticket link, and share it
Connect your payment processor, check the event information and prices, and make sure the sale dates allow people to buy now. Preview the buyer’s page on your phone before announcing it.
Once the event is on sale, share its purchase link wherever your audience already hears from you:
- Social posts and your profile’s website or bio link, where supported.
- Your Facebook event description and event updates.
- Email invitations and newsletters.
- WhatsApp conversations and community groups where promotion is welcome.
- Your existing website, partner pages, and sponsor announcements.
Use a direct invitation such as “Buy tickets for our Friday comedy night” with the link. A flyer catches attention; a clickable ticket link gives someone reading on their phone an immediate next step.
You do not need to ask buyers to message you, wait for payment instructions, or send a screenshot of a transfer for each order. They can choose their tickets and complete the online checkout themselves.
5. Put an event QR code on your flyer
A QR code bridges the gap between a printed flyer and your online ticket page. Someone sees the poster, scans the code with their phone camera, and opens the page where they can buy.
Use Ticketor’s free event QR code generator with your event’s purchase link. Customize the design, download the code, and add it to your flyer, poster, table sign, or box-office notice. Leave clear space around it and test the printed result with a phone before distributing copies.
There are two different QR codes to understand: an event QR code opens your sales page; an individual ticket’s QR code validates admission. Printing your event link as a QR code does not create a ticket.
6. Buyers get their tickets by email, text, or WhatsApp
Once a purchase is completed, Ticketor handles digital ticket delivery. Buyers can receive tickets by email, or choose text or WhatsApp delivery when you offer those options. They can show their tickets on a phone or print them.
SMS delivery supports eligible US and Canadian numbers; messaging charges and delivery settings apply. WhatsApp provides another option for international audiences. You choose which methods your event offers. See the digital ticket delivery guide for details.
That means you do not have to create each ticket, attach it to a personal email, and maintain a separate list of who received one.
7. Scan tickets with your own phone for free
You do not need to buy a dedicated scanner for your first event. Ticketor’s free gate-control tools let authorized staff scan tickets with their own Android phone or iPhone, using the app or a supported browser and the phone’s camera.
Each ticket has a unique code. Scanning checks whether it is valid and flags duplicate tickets that have already been used, helping prevent the same ticket from admitting another guest. Staff can scan a QR code displayed on a phone or printed on paper.
Before opening the doors, sign in, select the correct event, test a ticket, and check your internet connection. Keep phones charged. If several people are scanning, connected devices keep admission records synchronized across entrances.
For a first-time walkthrough, read ticket scanning for beginners. Free scanning does not mean every ticket sale or payment-processing service is free; review your selected Ticketor plan and payment provider’s fees when setting prices.
Frequently asked questions about selling tickets online
How quickly can I start selling tickets online?
A basic general-admission event can be set up in minutes when you have the details, image, prices, and payment connection ready. Leave additional time for a custom seating chart, payment-provider verification, or more complex event rules. Always check the buyer’s page before sharing it.
Do I need my own website to sell tickets?
No. Ticketor provides a hosted ticketing site and a page for your event. Share the event link directly, or link to it from a website you already have.
Can I sell tickets through social media?
Yes. Share your Ticketor event link through the social channels you use. Buyers follow the link to choose tickets and check out on your ticketing site. Place the link in a clickable location supported by that social platform.
Can buyers select their seats and pay different prices?
Yes. Use reserved seating with a seating chart for seat selection. Set up the prices your event needs, including different seating areas, adult or child variations, group quantities, and prices with scheduled sale windows.
Do guests have to print tickets or install an app?
Guests can present their digital tickets on a phone, so printing is optional. They do not need to install an event app just to show an e-ticket. Your gate team can scan either the phone screen or a printed copy.
Do I need a separate QR code for every buyer?
You do not create admission codes manually. Ticketor generates a unique code for each ticket, including separate tickets within a group order. The promotional QR code on your flyer is different: everyone can use that same code to reach the ticket sales page.
What happens if someone copies a ticket?
A copy still refers to the same ticket, not a new admission. Once that ticket is admitted, another scan is flagged as already used. Keep scanning devices online when using multiple entrances so they share current admission status.
Turn your event idea into a ticket link
Your first event does not need a complicated ticketing setup. Start with the essentials: a clear event page, the right price, a purchase link, and a way to check guests in. Add reserved seating, family prices, or early-bird deadlines when you need them.
Sign up for Ticketor, upload your flyer, and create your first event. Once it is on sale, you have a link to share, a destination for your flyer’s QR code, and tickets your guests can bring straight to the door.
